
Subaru Service Center in Saint James NY
Click Here to Schedule a Service Appointment or Call 631-402-5779
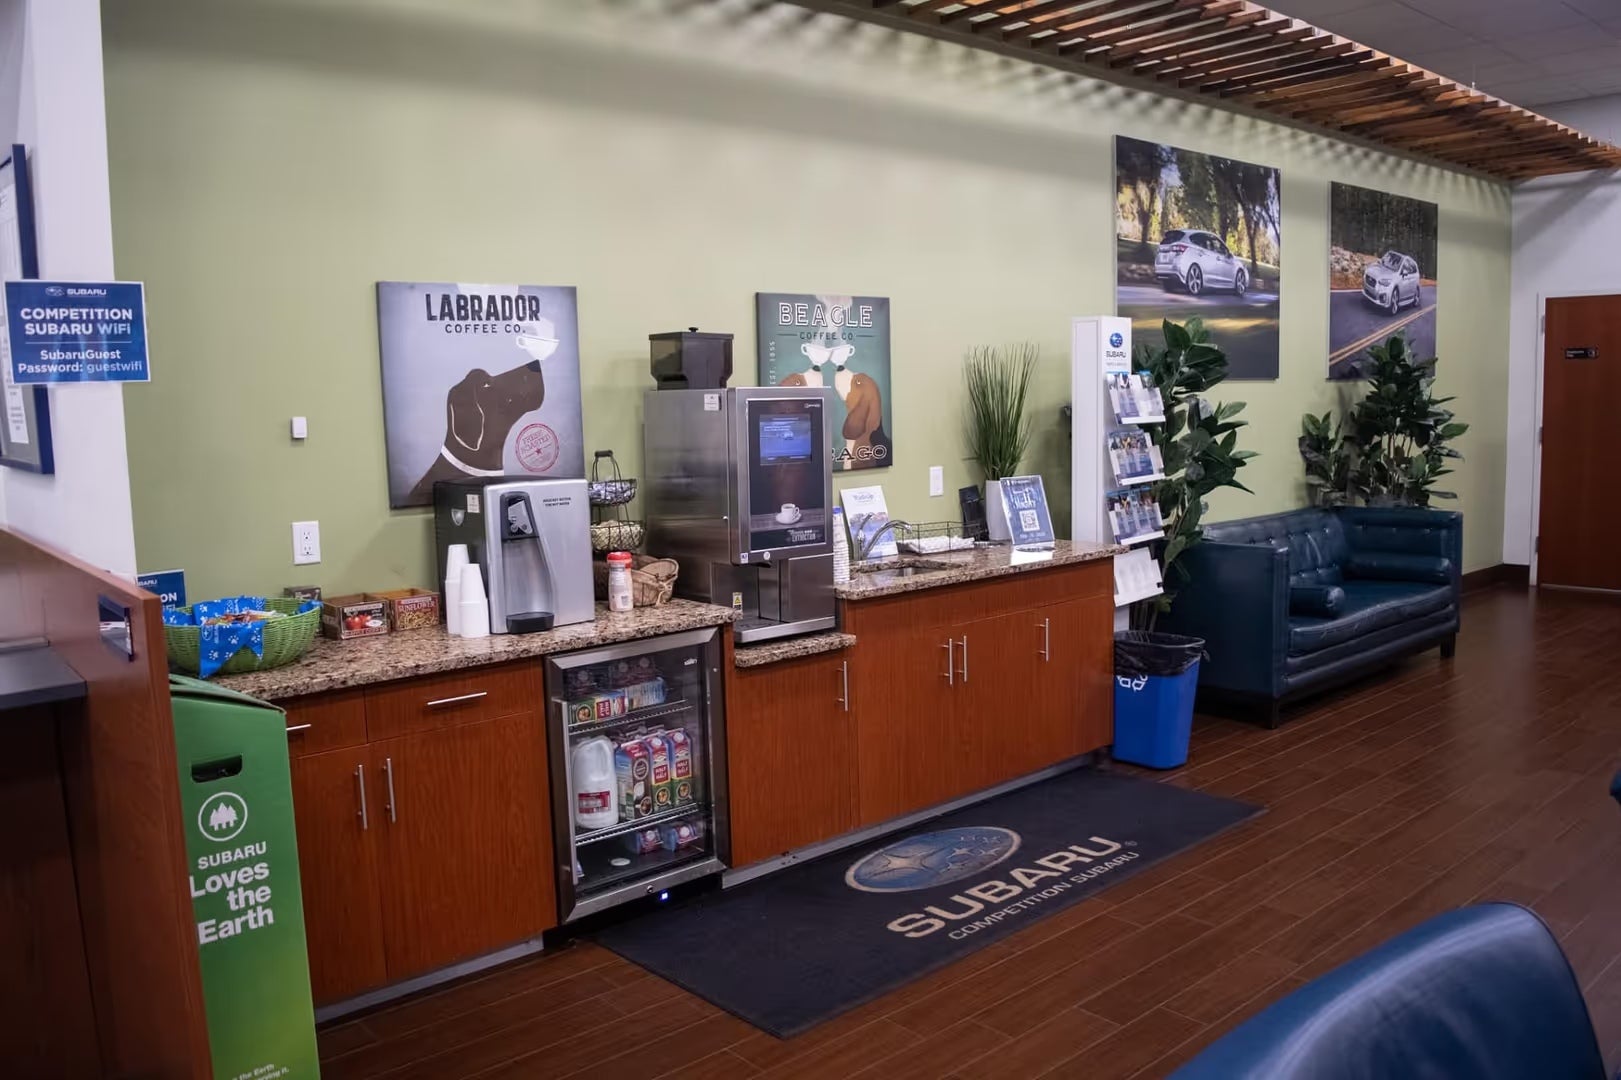
Check out our Service Center Waiting Area!
Come by and get comfortable! Fully equipped with cozy seating and portrayed in a living room type of atmosphere, Competition Subaru of Smithtown wants you to feel like your home away from home! With activities for children, TV for adults, free WiFi, magazines, dog treats and water bowls for your furry friends, free snacks & complimentary coffee and hot chocolate, your appointment will fly by!
Welcome to Our Brand New Service Facility
At Competition Subaru of Smithtown, our highly qualified technicians are here to provide exceptional service in an efficient manner. From oil changes to transmission replacements, we are dedicated to maintaining top tier customer service, for both new and pre-owned car buyers! Allow our staff to demonstrate our commitment to excellence.
Click Here to Schedule a Service Appointment or Call 631-402-5779
Smithtown Subaru Service & Car Repairs
Competition Subaru of Smithtown's Service Department is staffed with expert mechanics with hundreds of hours of experience. Our Subaru-certified technicians provide high-quality Subaru car repair in the Smithtown, Saint James, and Lake Grove area! We wholeheartedly understand how much you depend on your vehicle, our team of impressive and efficient Subaru-certified mechanics will work to get your Subaru vehicle back in your driveway and on the Long Island roads as fast as we possibly can.
The Competition Subaru of Smithtown technicians work to industry specifications to ensure your Subaru vehicle runs well for many, many miles to come. Each one of our Subaru-certified staff has been trained to correctly diagnose and fix any issues your vehicle may have. Once the problem has been located, our technicians will only use genuine, OEM Subaru parts! The Competition Subaru of Smithtown service staff will also advise you on any developing problems with your car, truck, or SUV so future breakdowns can be prevented.
At Competition Subaru, our service department is your trusted destination for expert care and genuine Subaru support, whether you are scheduling routine maintenance or sourcing subaru parts online for your vehicle. Drivers searching for a reliable subaru mechanic near me can count on factory-trained technicians who understand Subaru engineering inside and out, from brake service to engine diagnostics. We carry a full inventory of OEM components, including essentials like subaru wiper blades, making it easy to maintain performance and visibility year-round. With convenient access to subaru parts online, along with rotating subaru parts deals, keeping your Subaru in peak condition is both simple and cost-effective. From quick service visits to long-term ownership support, Competition Subaru delivers professional service, quality parts, and real value every time.
If you're in need of Subaru parts near Smithtown, Kings Park, or Ronkonkoma, we have you covered for your next DIY project. Turn your Subaru WRX, BRZ, Crosstrek or other model into something completely unique to you with the help of our Service and Parts Department!
Exceptional Service from our Expert Technicians
Competition Subaru of Smithtown believes that nothing should stand in the way of maximizing your driving experience. Our Factory Trained Technicians know your Subaru better than anyone else and are eager to help you get back on the roads of Centereach, Lake Grove, or Hauppauge. The Competition Subaru of Smithtown service center offers a variety of services on new and pre-owned vehicles such as oil changes, filter replacements, wheel alignments, tire rotations, coolant flush, electrical repair, brake pad repair, steering repair, and so much more!
Visit Competition Subaru of Smithtown on 601 Middle Country Road in
Saint James, New York today to speak with a Sales Consultant about leasing or purchasing the perfect Subaru for you. Competition Subaru of Smithtown is located near the
Smith Haven Mall in
Lake Grove, NY and about 15 minutes away from
Stony Brook University and 20 minutes from
MacArthur Airport! Call us today at 631-402-5779 or
schedule your appointment online.